

 Contact Us

 Home /
 AMR Fleet Design for Large Warehouses: Throughput, Traffic, Charging, and Expansion Planning
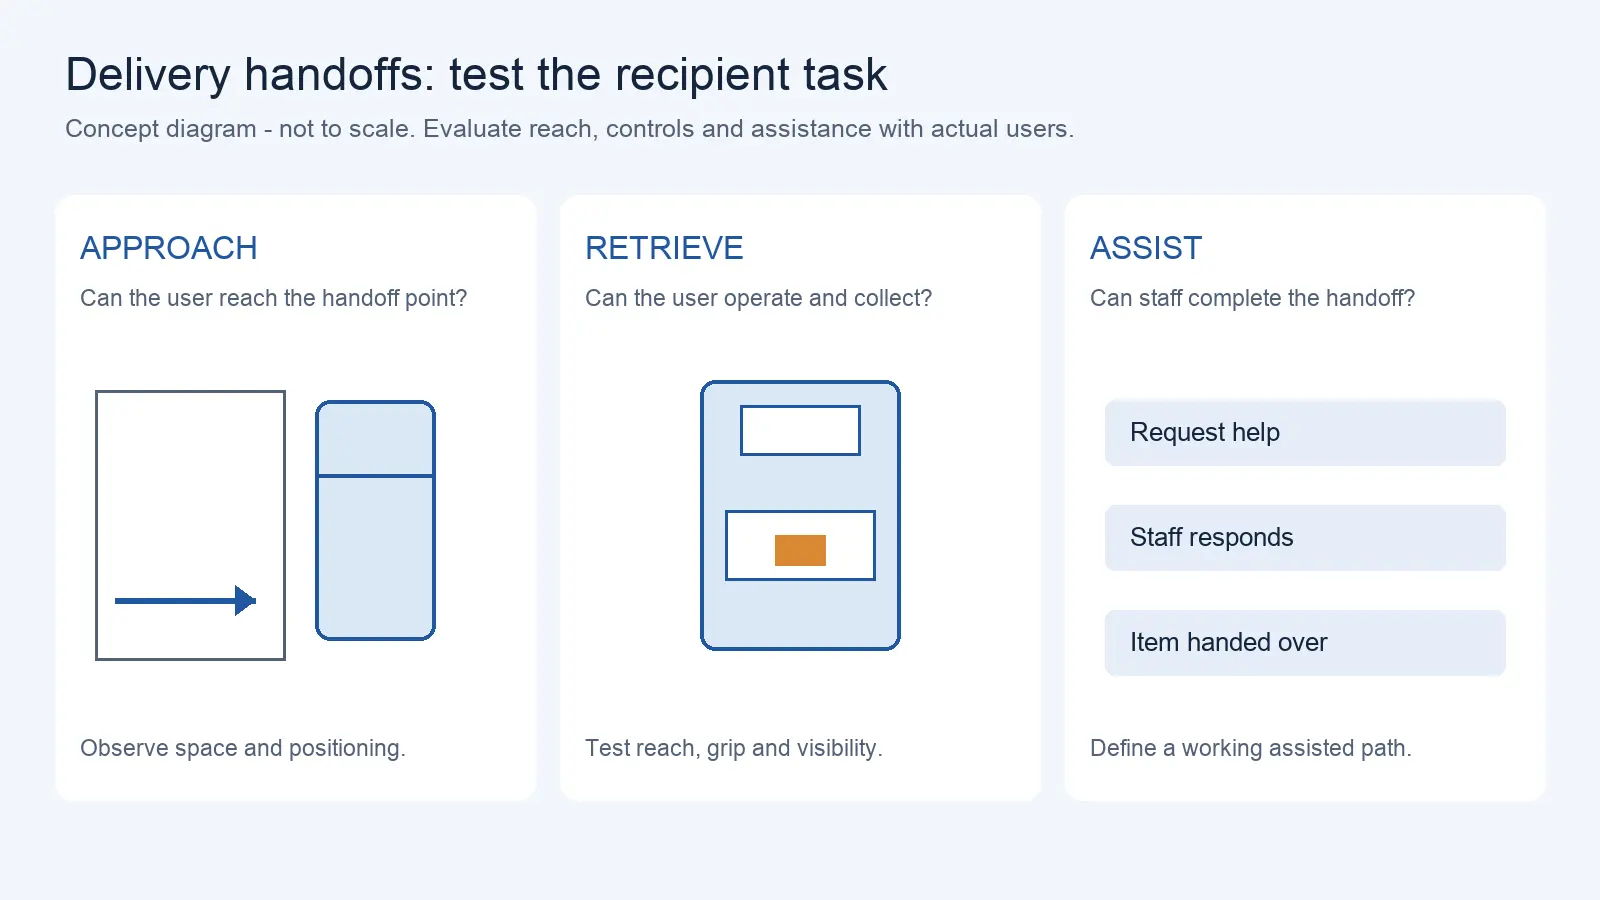
Delivery Robot Accessibility: Tray Reach, Controls, and Assisted Handoffs
Oct 12, 2026
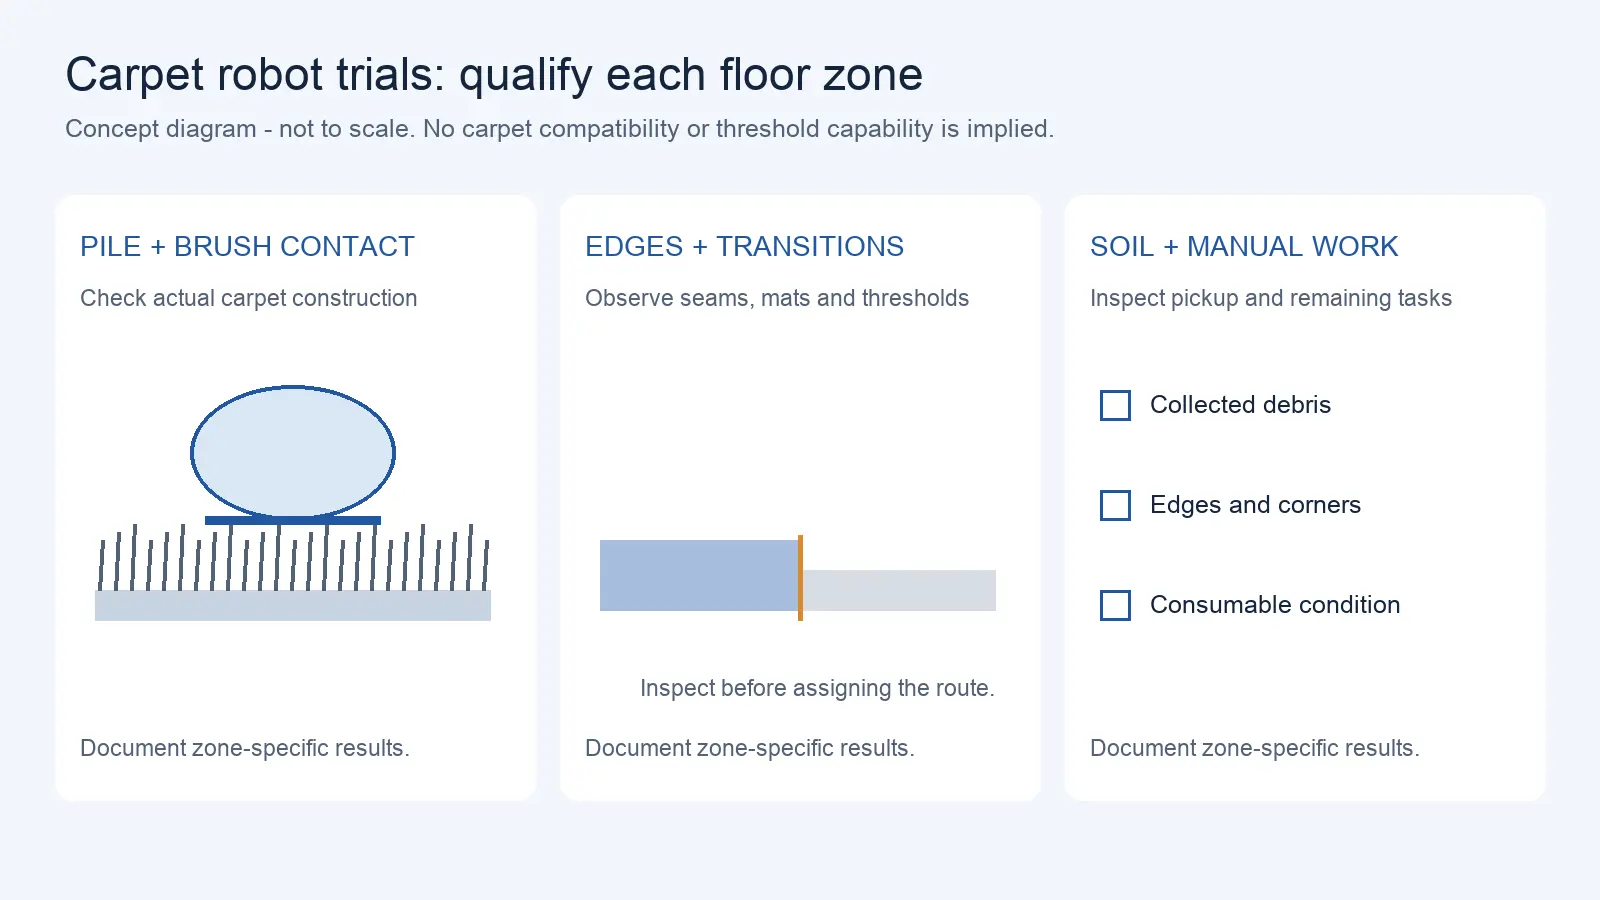
Commercial Carpet-Vacuuming Robots: Pile, Edge Transitions, and Maintenance Limits
Oct 12, 2026
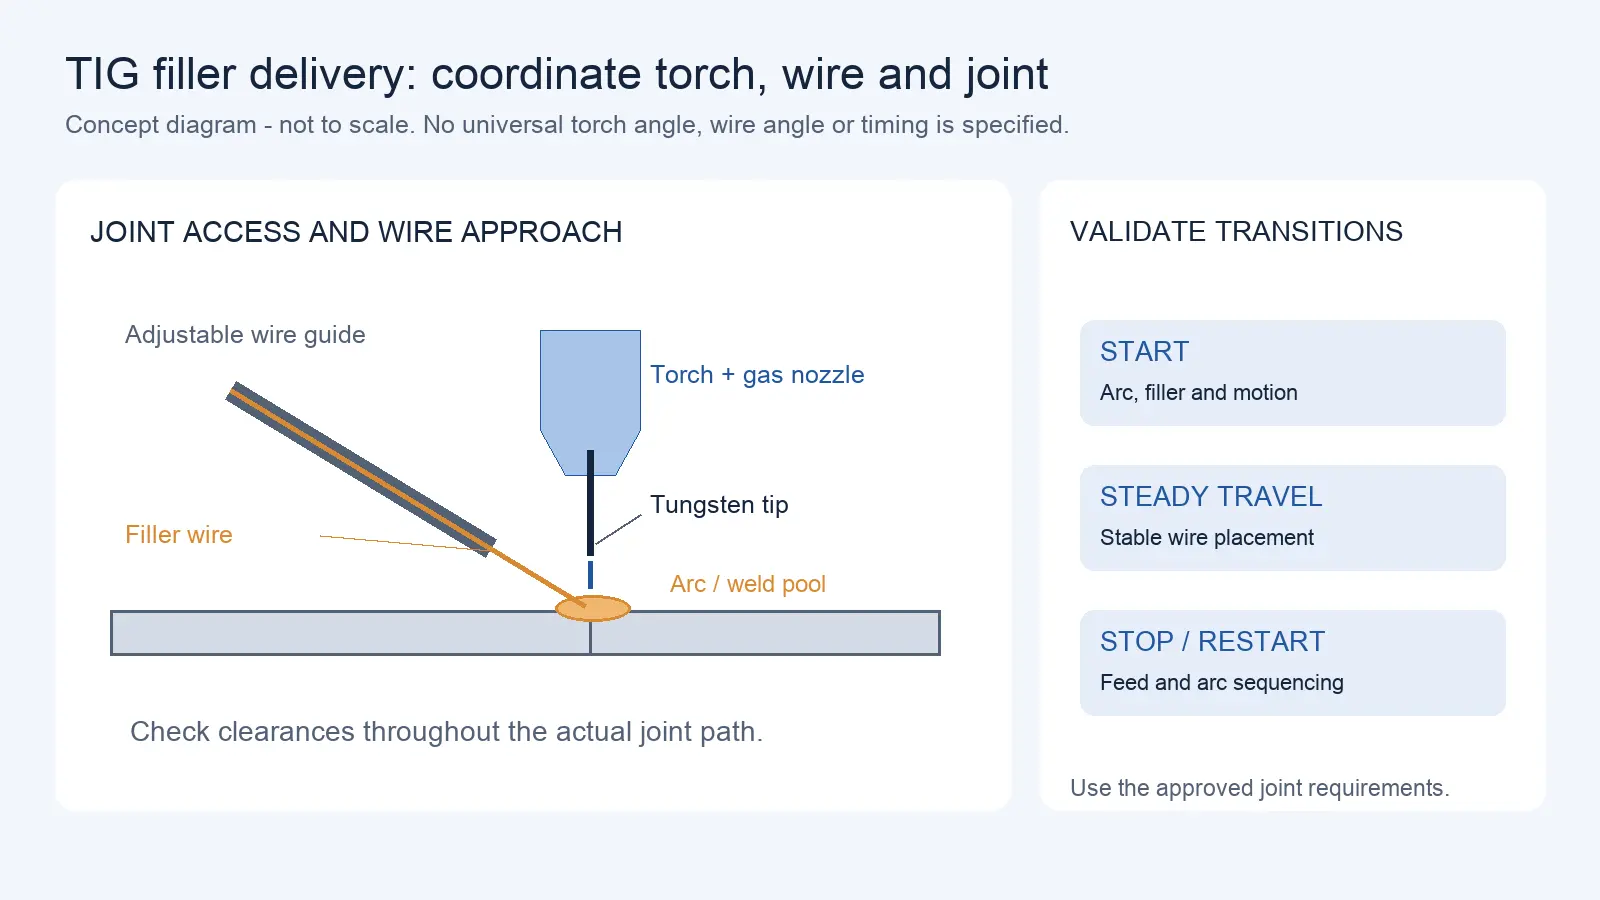
Robotic TIG Filler-Wire Delivery: Feed Angle, Arc Access, and Stop-Start Quality
Oct 12, 2026
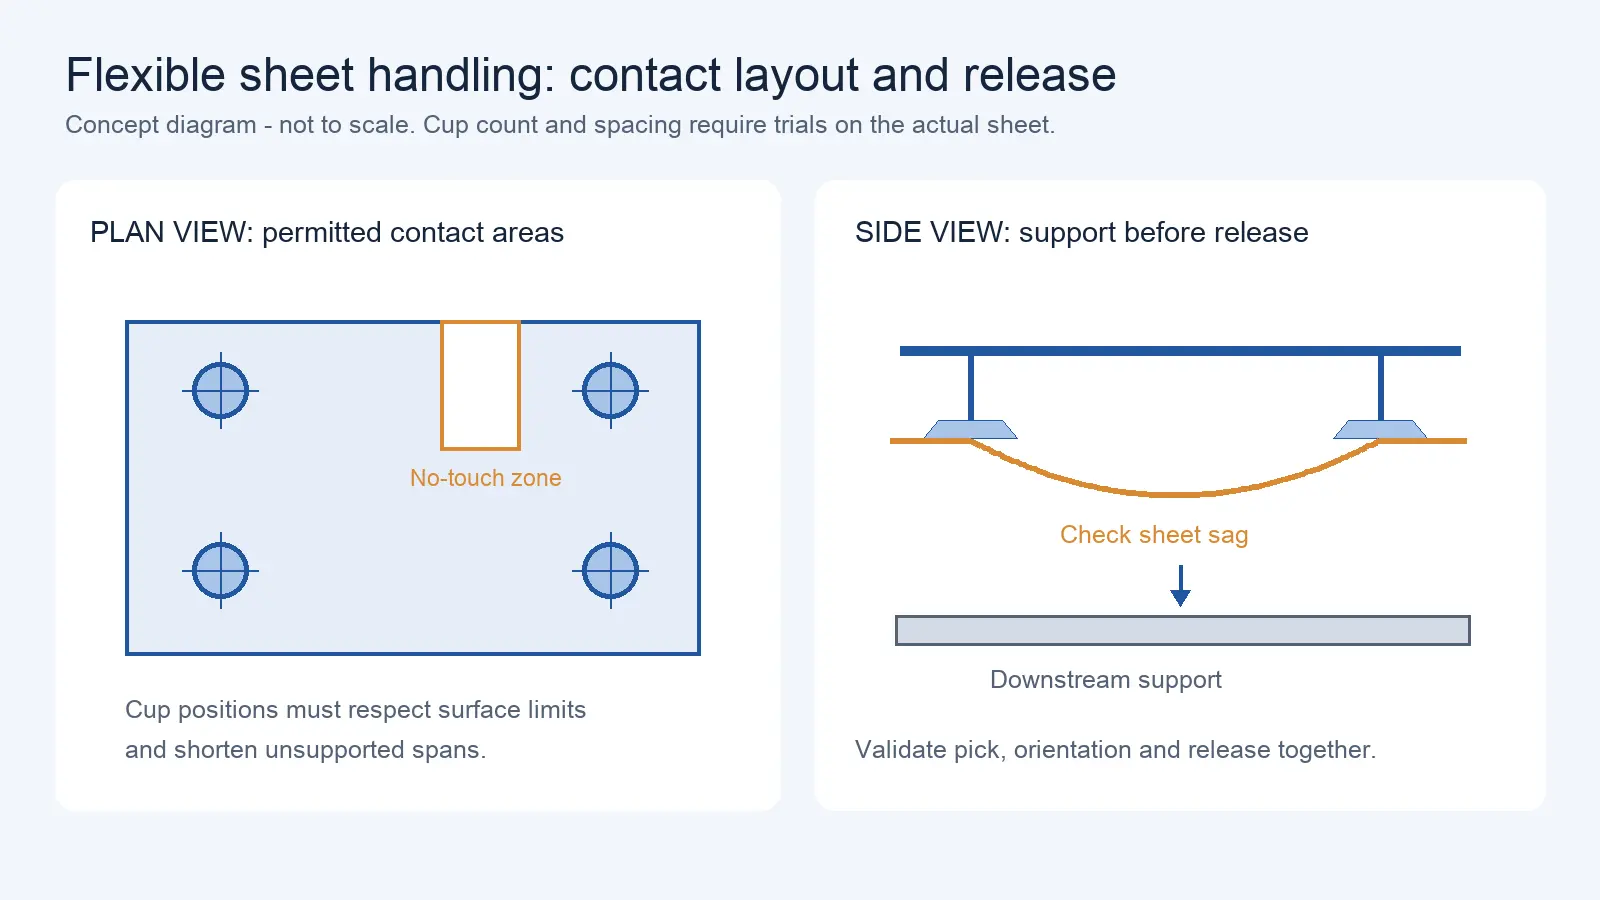
Suction Cup Layout for Flexible Sheets: Sag, Local Stress, and Controlled Release
Oct 12, 2026
Selecting one autonomous mobile robot (AMR) is a product evaluation exercise: compare payload, speed, navigation technology, and price. Designing an AMR fleet for a large warehouse is a systems engineering exercise: calculate throughput requirements, model traffic flow, plan charging infrastructure, and design for expansion without re-engineering the entire system. This article explains the fleet-level design decisions that determine whether a warehouse AMR deployment scales successfully.
Why Selecting One AMR Is Different from Designing an AMR Fleet
A single AMR evaluation focuses on individual robot capabilities:
- Can it carry the required payload?
- How fast does it move?
- How does it navigate (SLAM, LiDAR, vision)?
- How long does the battery last?
- What is the price per unit?
A fleet design evaluation focuses on system-level capabilities:
- Can the fleet move the required number of totes/orders per hour?
- How do robots interact at intersections and in narrow aisles?
- Where are charging stations placed, and how many are needed?
- What happens when one robot fails—does the fleet degrade gracefully?
- Can the system expand without redesigning the layout?
The difference is analogous to buying a car vs. designing a traffic system. A good car does not guarantee good traffic flow; a good AMR does not guarantee good fleet performance. The fleet design must account for interactions between robots, shared resources, and system-level throughput.
Convert Material Moves into Throughput Requirements
The first step in fleet design is translating warehouse operations into throughput requirements:
Step 1: Count Material Moves
- How many totes, pallets, or cartons are moved per hour?
- What is the peak move rate vs. the average move rate?
- Are moves uniform (same origin-destination) or varied (many origins and destinations)?
- What is the distance per move (meters, one way)?
Step 2: Calculate Single-Robot Theoretical Throughput
Single-robot throughput = 60 minutes per hour / (travel time + pickup time + drop-off time)
Illustrative warehouse scenario (all figures are hypothetical for calculation demonstration):
- Average travel distance per move: 120 meters (round trip)
- Robot speed: 1.2 m/s
- Travel time: 120 / 1.2 = 100 seconds = 1.67 minutes
- Pickup time: 30 seconds = 0.5 minutes
- Drop-off time: 30 seconds = 0.5 minutes
- Total time per move: 2.67 minutes
- Theoretical throughput: 60 / 2.67 = 22.5 moves per hour per robot
Step 3: Measure and Apply Efficiency Losses
Theoretical throughput assumes 100% utilization with no losses. Real-world throughput is lower, but the specific loss factors depend on the site, robot model, traffic patterns, and operational conditions. There is no universal industry range for these losses.
Instead of applying generic percentages, the buyer should measure the actual cycle components:
| Cycle Component | How to Measure | Why It Matters |
| Charging time | Measure charging duty cycle: (charge time / (charge time + run time)) x 100 | Determines how much of the robot’s time is spent charging |
| Traffic wait time | Measure time spent waiting at intersections or in queues | Identifies congestion bottlenecks |
| Queue time at stations | Measure time waiting for conveyor or station availability | Identifies station throughput limits |
| Obstacle interaction time | Measure time spent slowing or stopping for pedestrians, forklifts, or debris | Identifies shared-zone impact |
| Maintenance and fault downtime | Track fault frequency and repair time | Determines availability loss |
| Navigation recovery time | Measure time spent re-localizing after position loss | Identifies navigation robustness |
Note: these loss factors may overlap. A robot waiting at an intersection may also be experiencing low battery. Do not simply add percentages—use time study, discrete-event simulation, or pilot-measured cycle components to estimate effective throughput.
Illustrative scenario continued:
- Theoretical throughput: 22.5 moves/hour
- After measuring cycle components, effective throughput: 11.25 moves per hour per robot
- This figure is specific to this illustrative scenario and must not be treated as a general ratio
Step 4: Calculate Fleet Size
Fleet size = Peak demand / Effective throughput per robot
Illustrative scenario:
- Peak demand: 120 moves per hour
- Effective throughput: 11.25 moves per hour per robot
- Fleet size: 120 / 11.25 = 10.7 -> 11 robots (before redundancy)
Step 5: Add Redundancy
Redundancy is determined by the required service level, failure modes, repair time, and peak headroom—not by a fixed ratio. If one robot fails, what capacity loss is acceptable? The answer depends on whether the operation can tolerate reduced throughput during repair, or whether backup capacity is required to maintain full throughput at all times.
This is a planning estimate. The actual fleet size should be validated with a pilot deployment that measures real-world throughput, charging frequency, and congestion patterns.
Route Density, Intersections, Congestion and Traffic Rules
Traffic management is where fleet design diverges most from single-robot evaluation. A warehouse with multiple AMRs operating simultaneously needs traffic rules, intersection management, and congestion prediction.
Corridor and Intersection Design
| Traffic Zone | Possible Management Approach | Considerations |
| Narrow aisle (one robot width) | Zone control: one robot enters; others wait | Buffer space at entry/exit for waiting robots |
| Wide aisle (two robots side by side) | Dynamic passing or one-way routing | Speed reduction in shared zones |
| Intersection (2+ routes cross) | Priority-based or time-slot allocation | Define priority rules (these are possible control strategies, not universal rules) |
| Pickup/drop-off station | Queue management | Define queue position, max queue length, timeout for stuck queue |
| Charging station area | Queue and stagger | Prevent all robots from converging on charging area simultaneously |
Congestion Prediction
Congestion is not random—it follows patterns based on order flow, shift schedule, and layout. Common congestion points:
- Main aisles connecting high-traffic zones (receiving to storage, storage to shipping)
- Pickup stations with high order volume
- Charging station areas during low-demand periods (all robots charge simultaneously)
- Elevator or doorway bottlenecks (for multi-floor operations)
The fleet design should identify these congestion points during the layout review and implement traffic rules that prevent or mitigate them.
Traffic Rule Design
The following are possible control strategies, not universal rules. They must be validated against the specific warehouse layout, robot platform capabilities, and safety requirements. Safety in shared zones (pedestrians, forklifts) must be determined by risk assessment, not by traffic priority rules.
- One-way routes in narrow aisles to prevent head-on encounters
- Speed reduction zones in high-traffic or pedestrian-shared areas
- Priority rules at intersections (e.g., loaded robot has priority over empty robot)
- Charging scheduling to stagger charging times and avoid charging area congestion
- Geofencing to restrict robots from zones with high forklift traffic or pedestrian density
Charging Strategy and Charger Placement
Charging strategy directly affects fleet availability. Poor charger placement or insufficient chargers can create a bottleneck that limits fleet throughput.
Charging Station Ratio
There is no universal charger-to-robot ratio. The required ratio depends on battery chemistry, BMS behavior, charger power, duty cycle, opportunity charging capability, vendor controls, and required reserve. The buyer should calculate charging demand based on the robot’s battery capacity, charge rate, and expected duty cycle, then validate with the vendor and pilot data.
Charger Placement Principles
- Place chargers along natural robot routes, not in a centralized “charging room” that requires deadhead travel
- Distribute chargers across the warehouse to avoid all robots converging on one area
- Place chargers near low-traffic zones to avoid creating congestion at the charging station
- Ensure adequate power supply for the total charger load (calculate amperage: chargers x amps per charger)
- Leave space for additional chargers if the fleet expands
Charging Scheduling
- Schedule charging during low-demand periods where possible
- Stagger charging to avoid all robots charging simultaneously (power spike and capacity loss)
- Use battery-aware task assignment: robots with low battery get short-distance tasks near a charger; robots with high battery get long-distance tasks
- Define a minimum battery threshold below which a robot must charge—the specific threshold depends on battery chemistry, BMS characteristics, and the robot vendor’s recommendations
Queueing at Pickup/Drop-Off Stations and Conveyors
Queueing is an often-overlooked throughput limiter. Even with sufficient robots, throughput can be constrained by queueing at stations where robots pick up or drop off loads.
Queueing Scenarios
| Scenario | Cause | Impact |
| Robot waits for conveyor | Conveyor is busy or backed up | Robot idle, blocking the station |
| Robot waits for station operator | Operator is loading/unloading another robot | Robot idle, queue grows |
| Multiple robots converge on one station | High-volume station with multiple inbound routes | Congestion, collision risk, queue overflow |
| Robot blocks station while waiting | No queue space behind the station | Other robots cannot access the station |
Queueing Design
- Define queue positions: where do robots wait when the station is occupied?
- Define max queue length: how many robots can wait before the system routes tasks elsewhere?
- Define timeout: if a robot waits longer than a defined period, reroute or escalate
- Design station layout: ensure there is physical space for queueing without blocking other routes
- Consider parallel stations: if one station is a bottleneck, can a second station be added?
Redundancy and Failure Recovery
Single-Robot Failure
When one robot fails, the fleet must continue operating at reduced capacity. The design should include:
- Redundant robots (as calculated in the fleet sizing step)
- Automatic task reassignment: the fleet manager reassigns the failed robot’s tasks to available robots
- Failure alerting: the failed robot generates an alert for maintenance
- Recovery procedure: the failed robot is manually moved to a maintenance area (not left in the aisle)
Multi-Robot Failure
If multiple robots fail simultaneously (e.g., due to a software bug or environmental event), the fleet should degrade gracefully:
- The fleet manager continues operating with available robots
- Priority tasks are maintained; lower-priority tasks are deferred
- An alert is generated indicating fleet-wide capacity reduction
- The operations team is notified to investigate the common cause
If the network drops, robots should:
- Complete their current task using onboard processing
- Park safely (not blocking aisles or stations)
- Queue tasks locally
- Sync and resume when the network recovers
Design for Current Fleet Without Blocking Expansion
A fleet designed for a current fleet size that cannot scale without redesigning the layout, network, or charging infrastructure is a failed design. Expansion planning should be built into the initial design:
Expansion-Ready Design Principles
| Design Element | Design for Current Fleet | Plan for Future Expansion |
| Charging stations | Sufficient for current fleet | Space and power for additional chargers |
| Network capacity | Sufficient for current fleet | AP density and bandwidth for expanded fleet |
| Traffic routes | Wide enough for current fleet | Aisle widths and intersection design for expanded fleet |
| Fleet management platform | Licensed for current fleet | Scalable licensing (per-robot, not capped) |
| Spare parts | Stock for current fleet | Regional hub for expanded fleet |
| Floor space | Charging area for current fleet | Space for expanded charging area |
| Power supply | Sufficient for current chargers | Circuit capacity for future chargers |
The incremental cost of designing for expansion at the start is generally lower than retrofitting infrastructure when the fleet grows. Adding a power circuit during initial construction costs a fraction of adding it after the warehouse is operational.
AMR Fleet Design Data Checklist
| Data Item | Why It’s Needed |
| Warehouse layout (digital, dimensioned) | Route planning, traffic zone design, charger placement |
| Material move data (moves per hour, peak vs. average, origins and destinations) | Throughput calculation, fleet sizing |
| Average move distance (meters, one way) | Throughput calculation |
| Robot specifications (speed, payload, battery capacity, charge time) | Throughput calculation, charging planning |
| Conveyor and station locations | Queueing design, route planning |
| Aisle widths and turning clearances | Traffic rule design, robot model selection |
| Current Wi-Fi coverage map | Network readiness assessment |
| Power circuit availability and capacity | Charging station planning |
| Operating hours and shift schedule | Charging scheduling, fleet sizing for peak |
| Forklift and pedestrian traffic patterns | Safety zone design, traffic rule design |
| Expansion plan (projected fleet size) | Expansion-ready design |
Request a Quote or Technical Evaluation
Tell us what you need the robot to do. Even if some technical details are not yet confirmed, our team can help evaluate suitable options.
Please share, if available: application, key requirements, site and integration conditions, quantity, destination, and target timeline.
Send Your RequirementsShare on Social:


Contact Us
In This Article
Delivery Robot Accessibility: Tray Reach, Controls, and Assisted Handoffs
Oct 12, 2026
Commercial Carpet-Vacuuming Robots: Pile, Edge Transitions, and Maintenance Limits
Oct 12, 2026
Robotic TIG Filler-Wire Delivery: Feed Angle, Arc Access, and Stop-Start Quality
Oct 12, 2026
Suction Cup Layout for Flexible Sheets: Sag, Local Stress, and Controlled Release
Oct 12, 2026